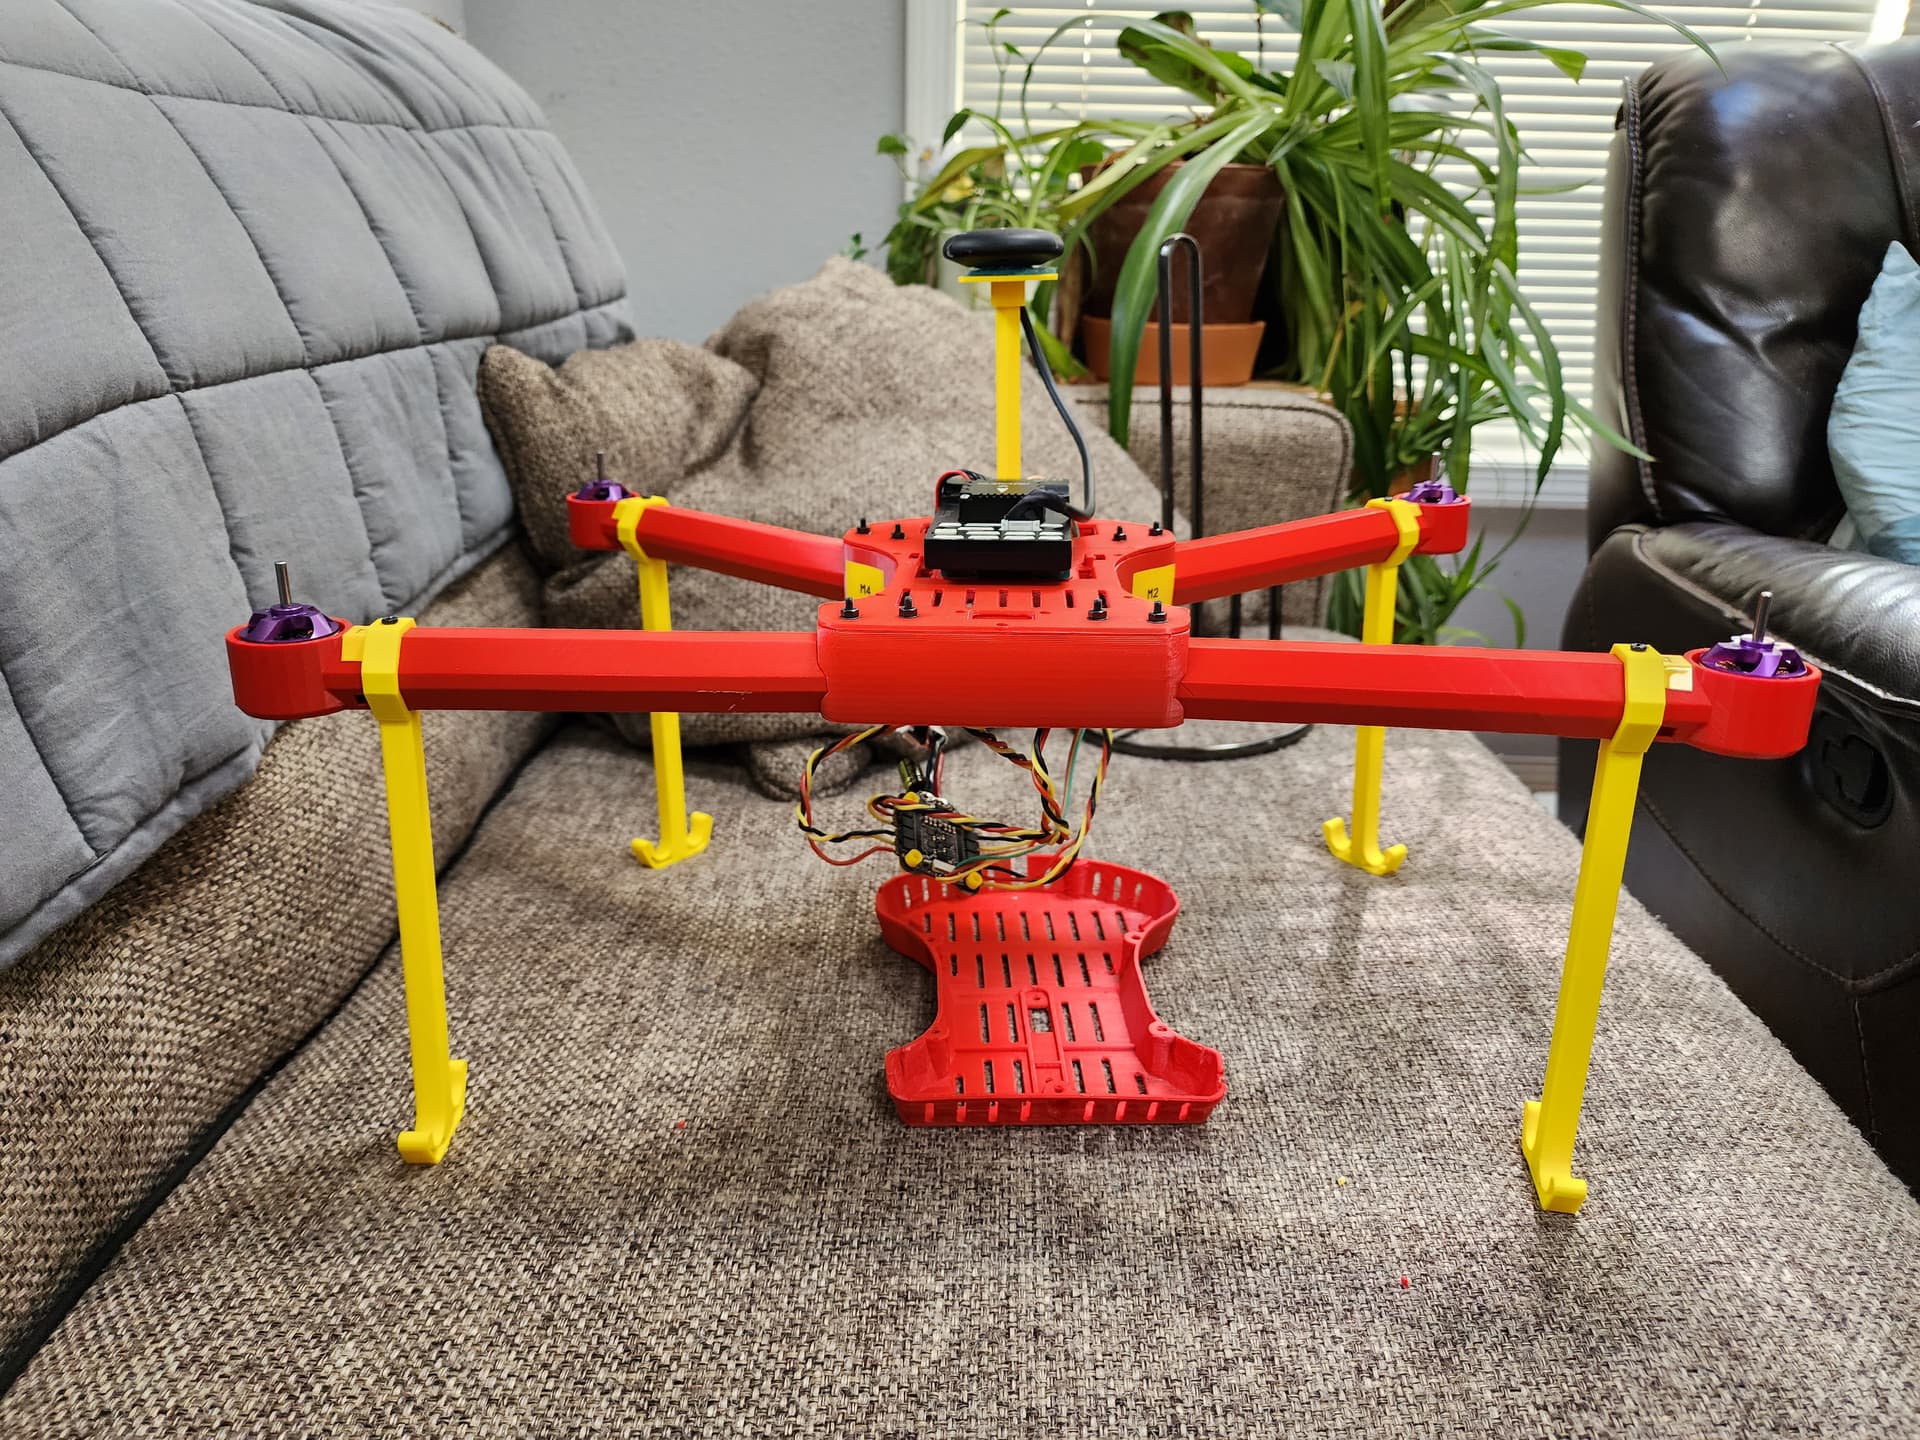
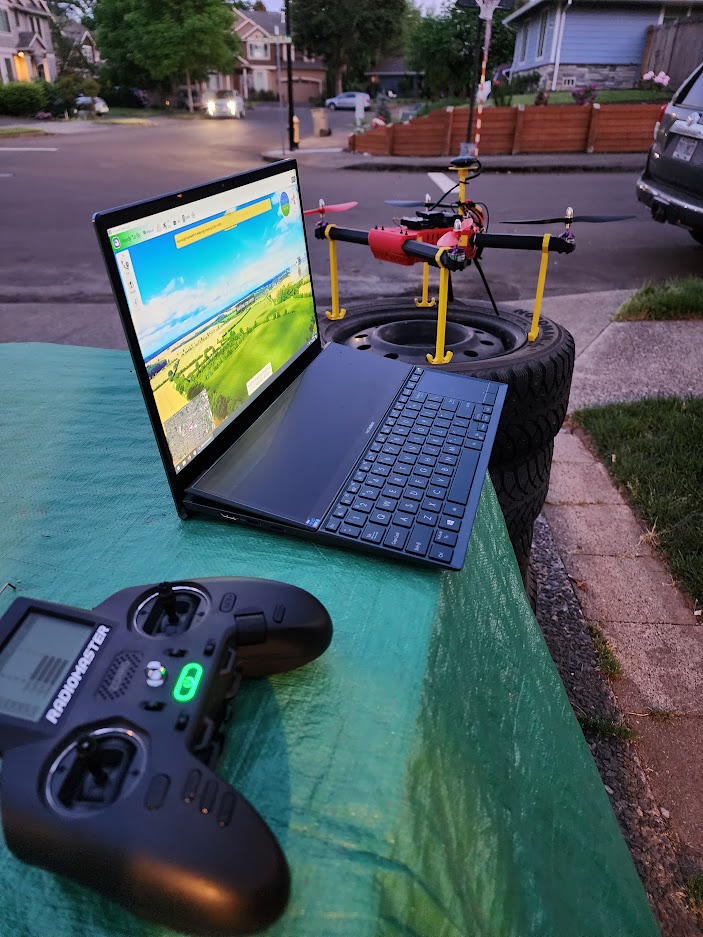
Hello everyone! I have 3D printed, built, and flown a T4 Quadcopter Drone I’m going to use this space to log the testing process.
Goal: To build a 3D printed robotics platform. End goal will be ROS2 on a companionon computer and either 360 lidar or a few 3d depth cameras.
Specifications:
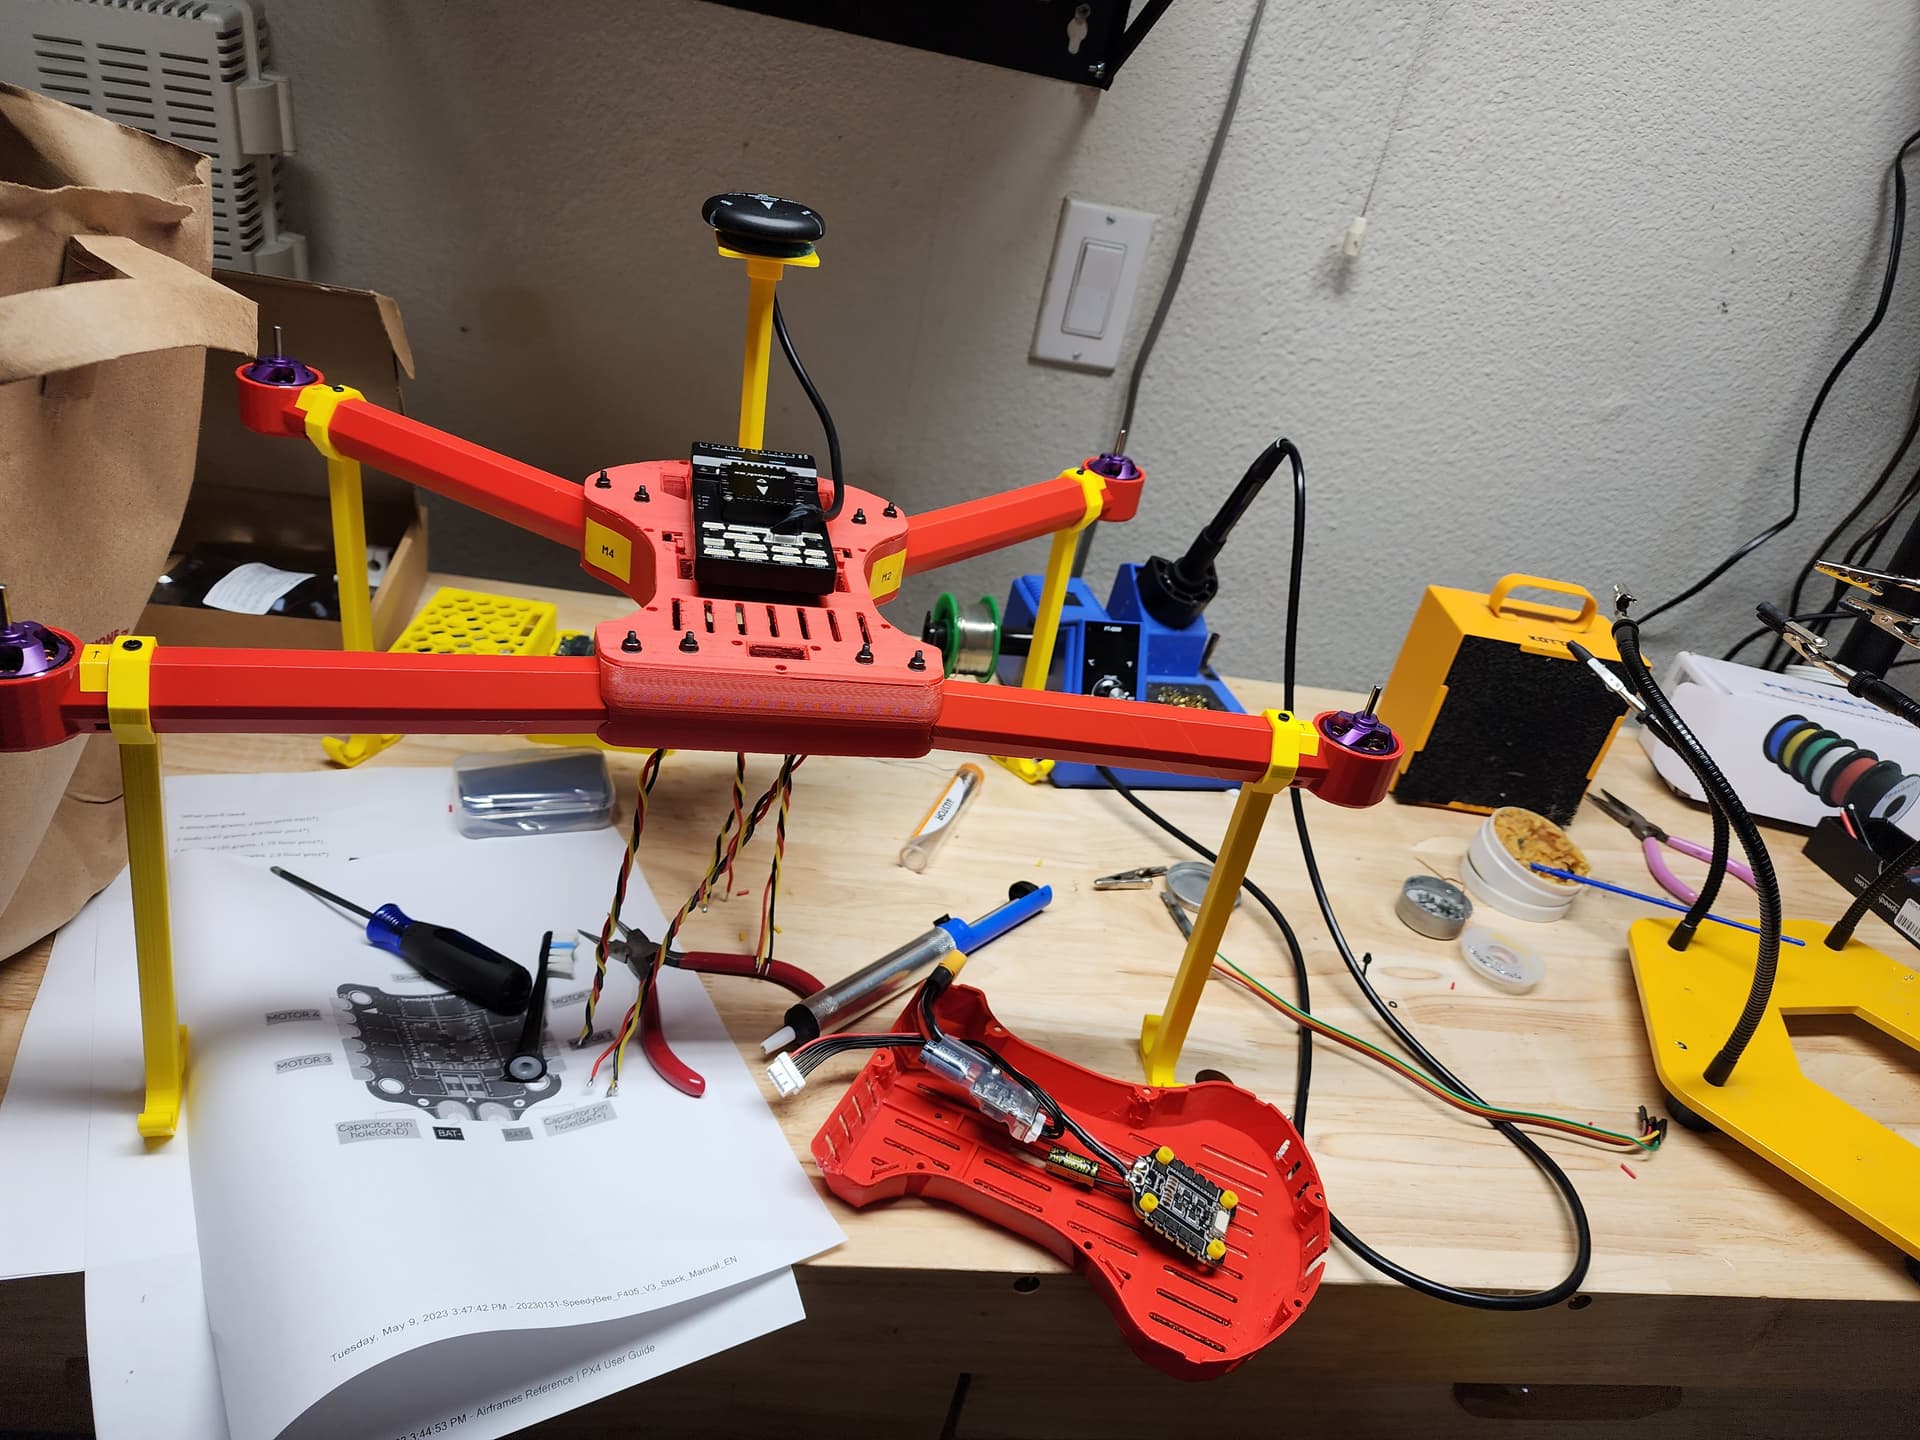
3D printer- Creality CR30 Belt printer
Filament- 3DPrintLab Polyair Red
.28MM layers
Temp: I need to doublecheck this, I printed the parts a long long time ago.
Printer running Klipper Firmware, otherwise stock.
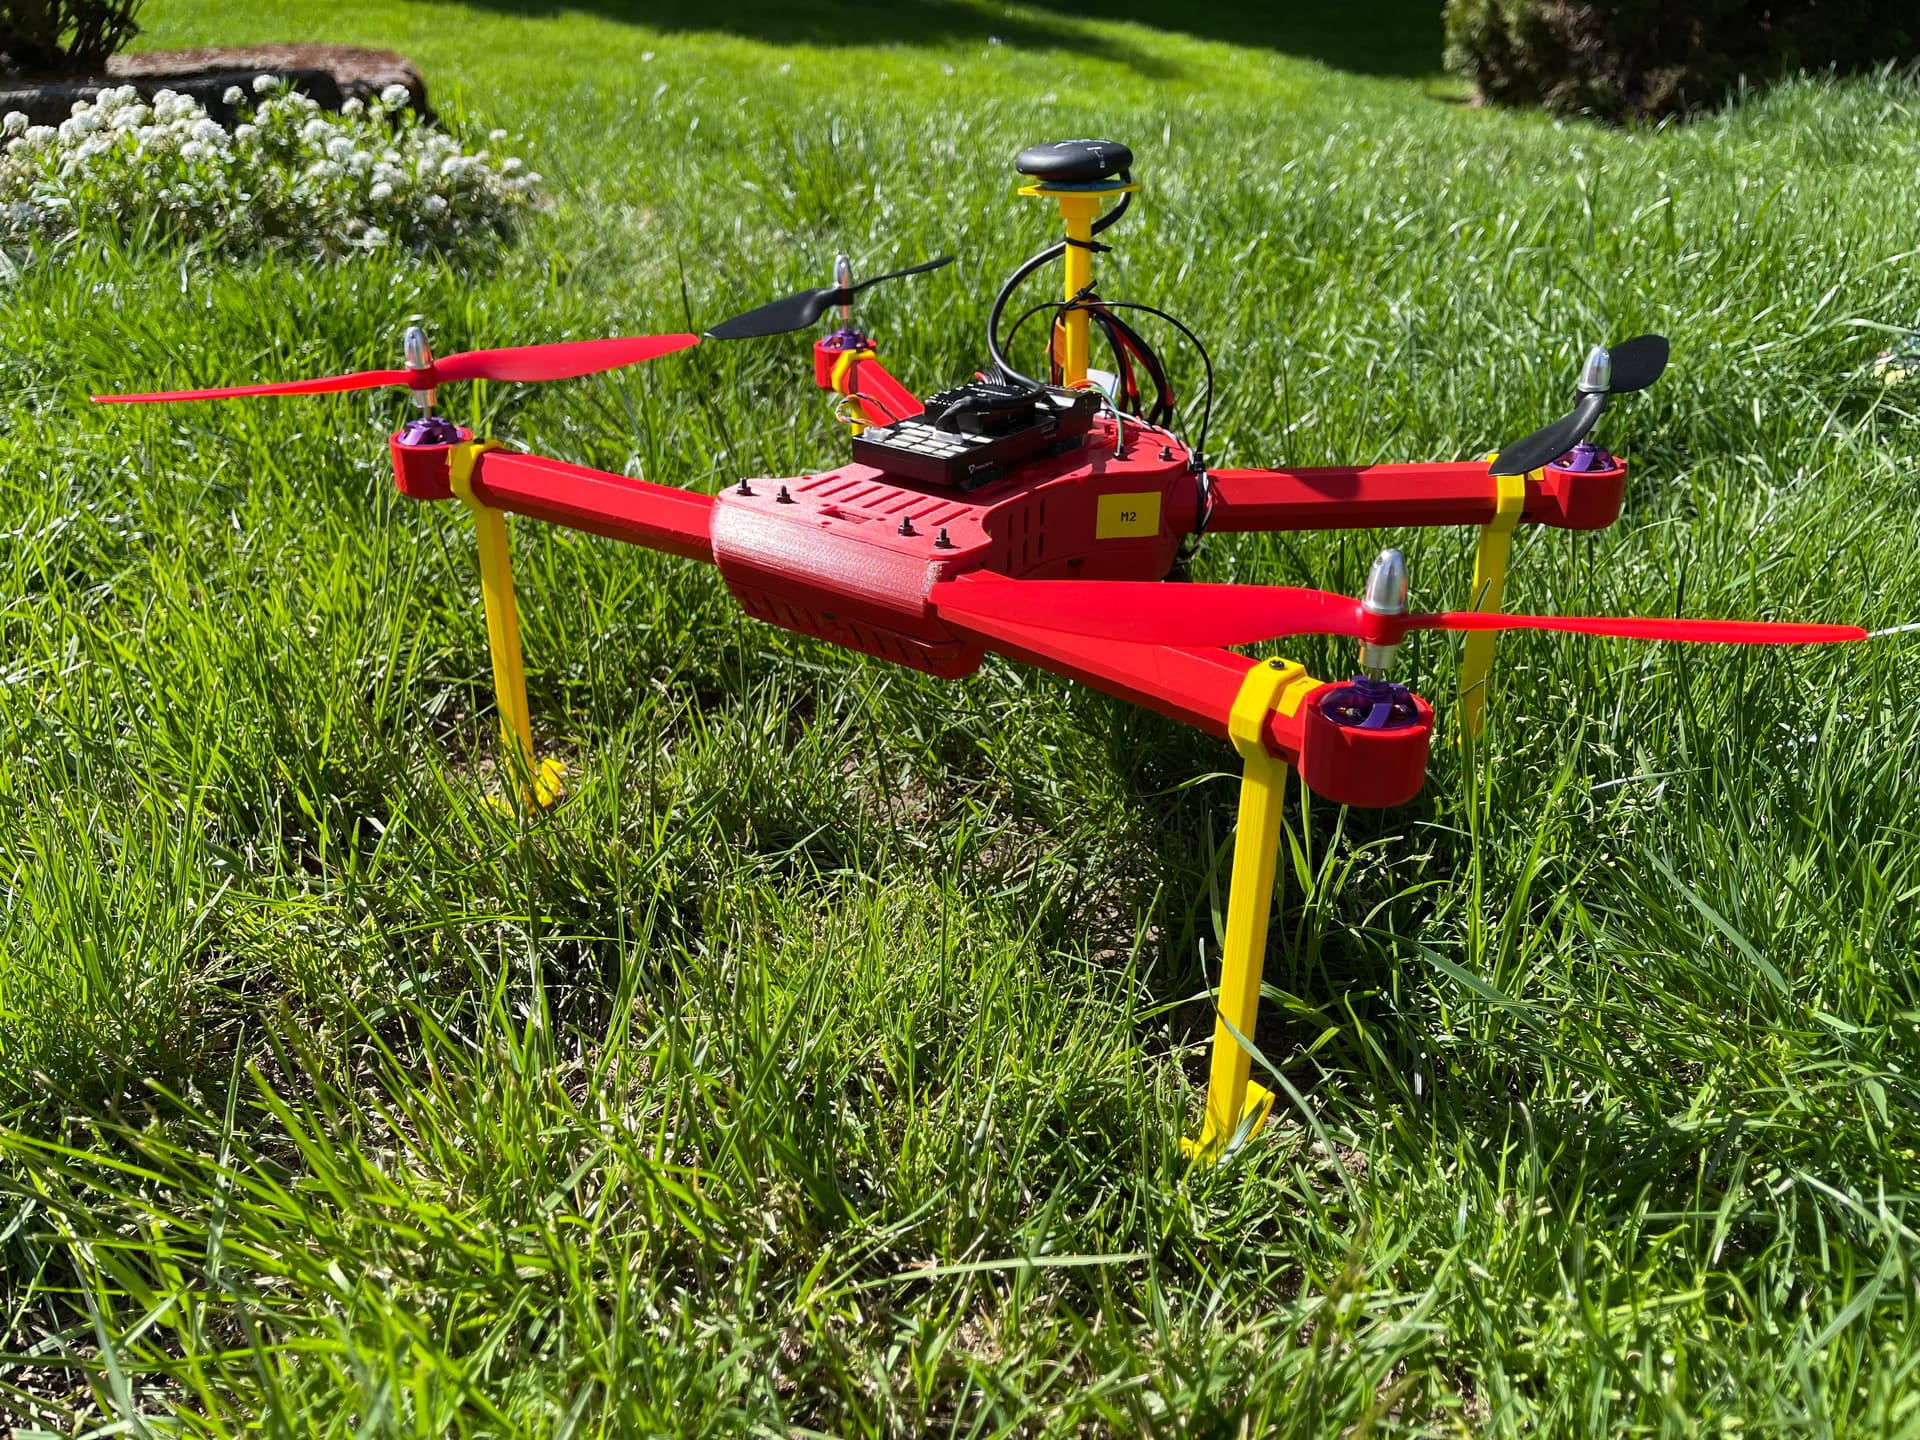
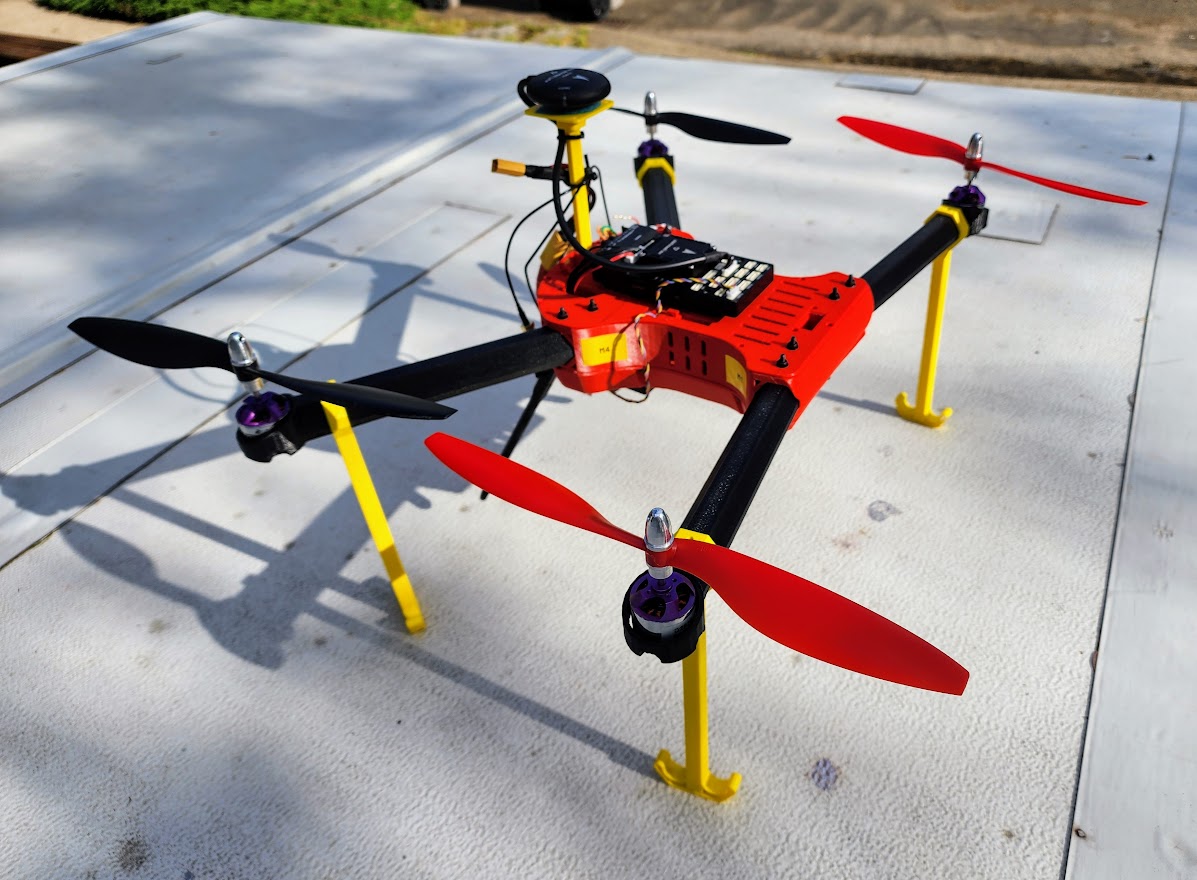
First Flight here: https://youtu.be/tjD-m-qVhBw Manual into Altitude into Position. Defaults for generic quad for PID settings.
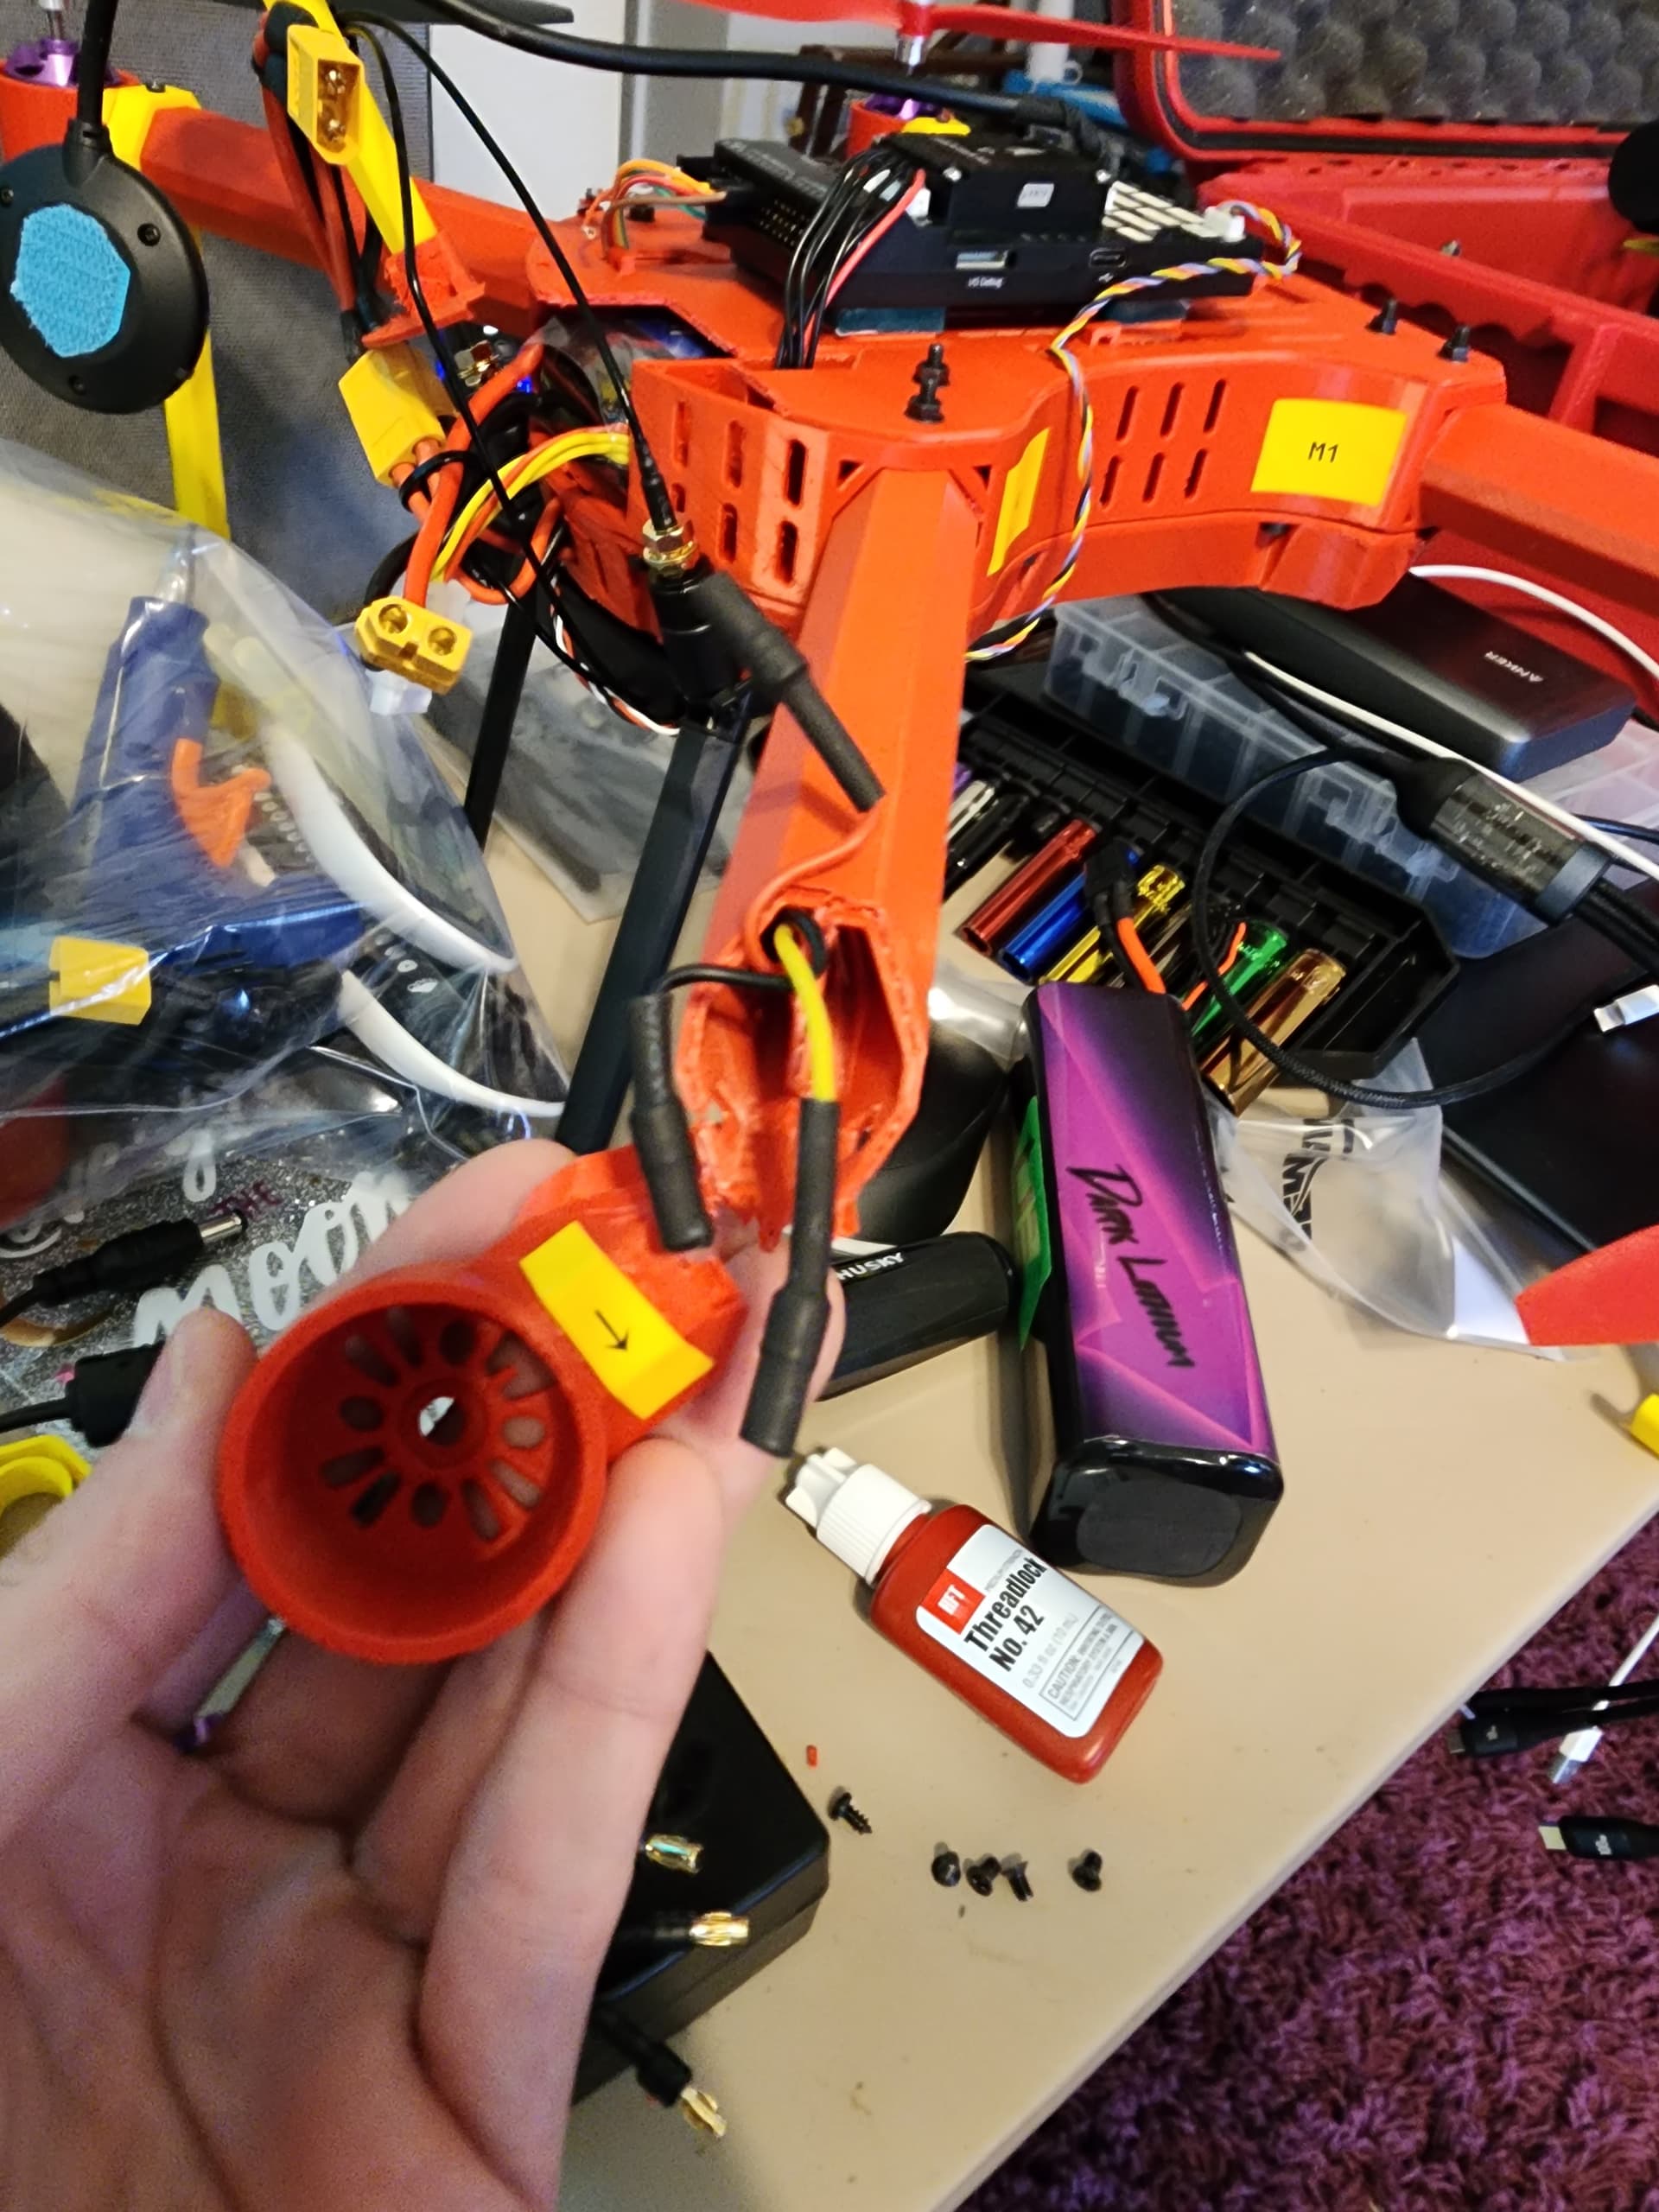
My 2nd flight ended in failure. I forgot to threadlock my motor mounts. I meant to do a very very short flight to ensure the motor wiring was OK, then threadlock everything into place + ziptie the end of the motor wires down. Got excited to fly and completely forgot. I damaged 1 arm that needs to be replaced and everything else is A-OK. It fell from about 6 feet straight to the concrete, so good all things considered. I think that arm had a bit of under extrusion anyways…so we will see in other crashes how the other arms fair.
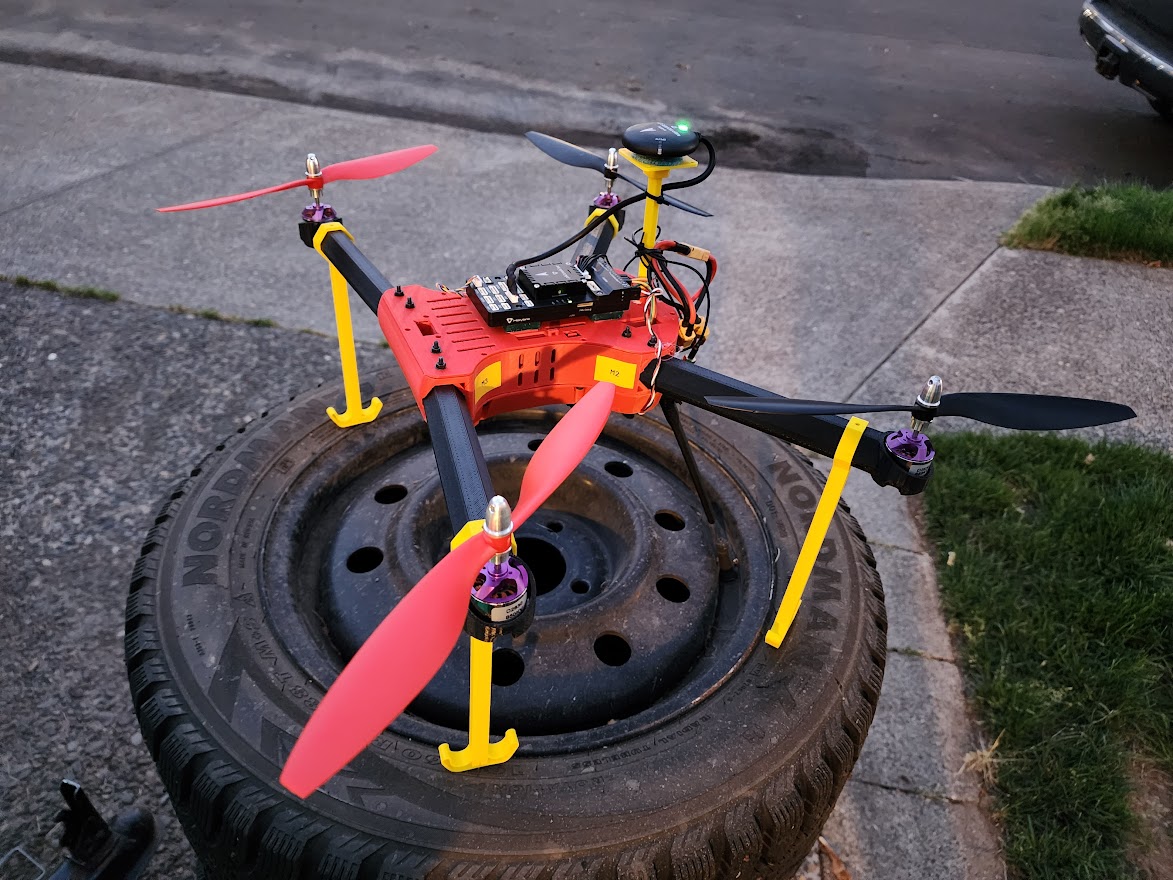
After our crash on Flight 2- I had to evaluate what went wrong and how to prevent it in the future. At first I thought it was the lack of threadlock on the motors that allowed it to quickly come free. After flight 3 I learned that the motors were becoming incredibly hot, which was softening the polyair plastic significantly. This allowed the the motors to move freely in their nacelles as that is how soft the plastic was. The bolts on the bottom of the motors were very hot to the touch. I’m certain this is what caused the 1st crash. They softened significantly and then started coming loose.
During Assembly I also noticed that the motor recommended on the T4 thingiverse page had vent holes that didn’t quite line up with the vent holes built into the 3d printed arm. This contributed to how hot the motor got in that nacelle.
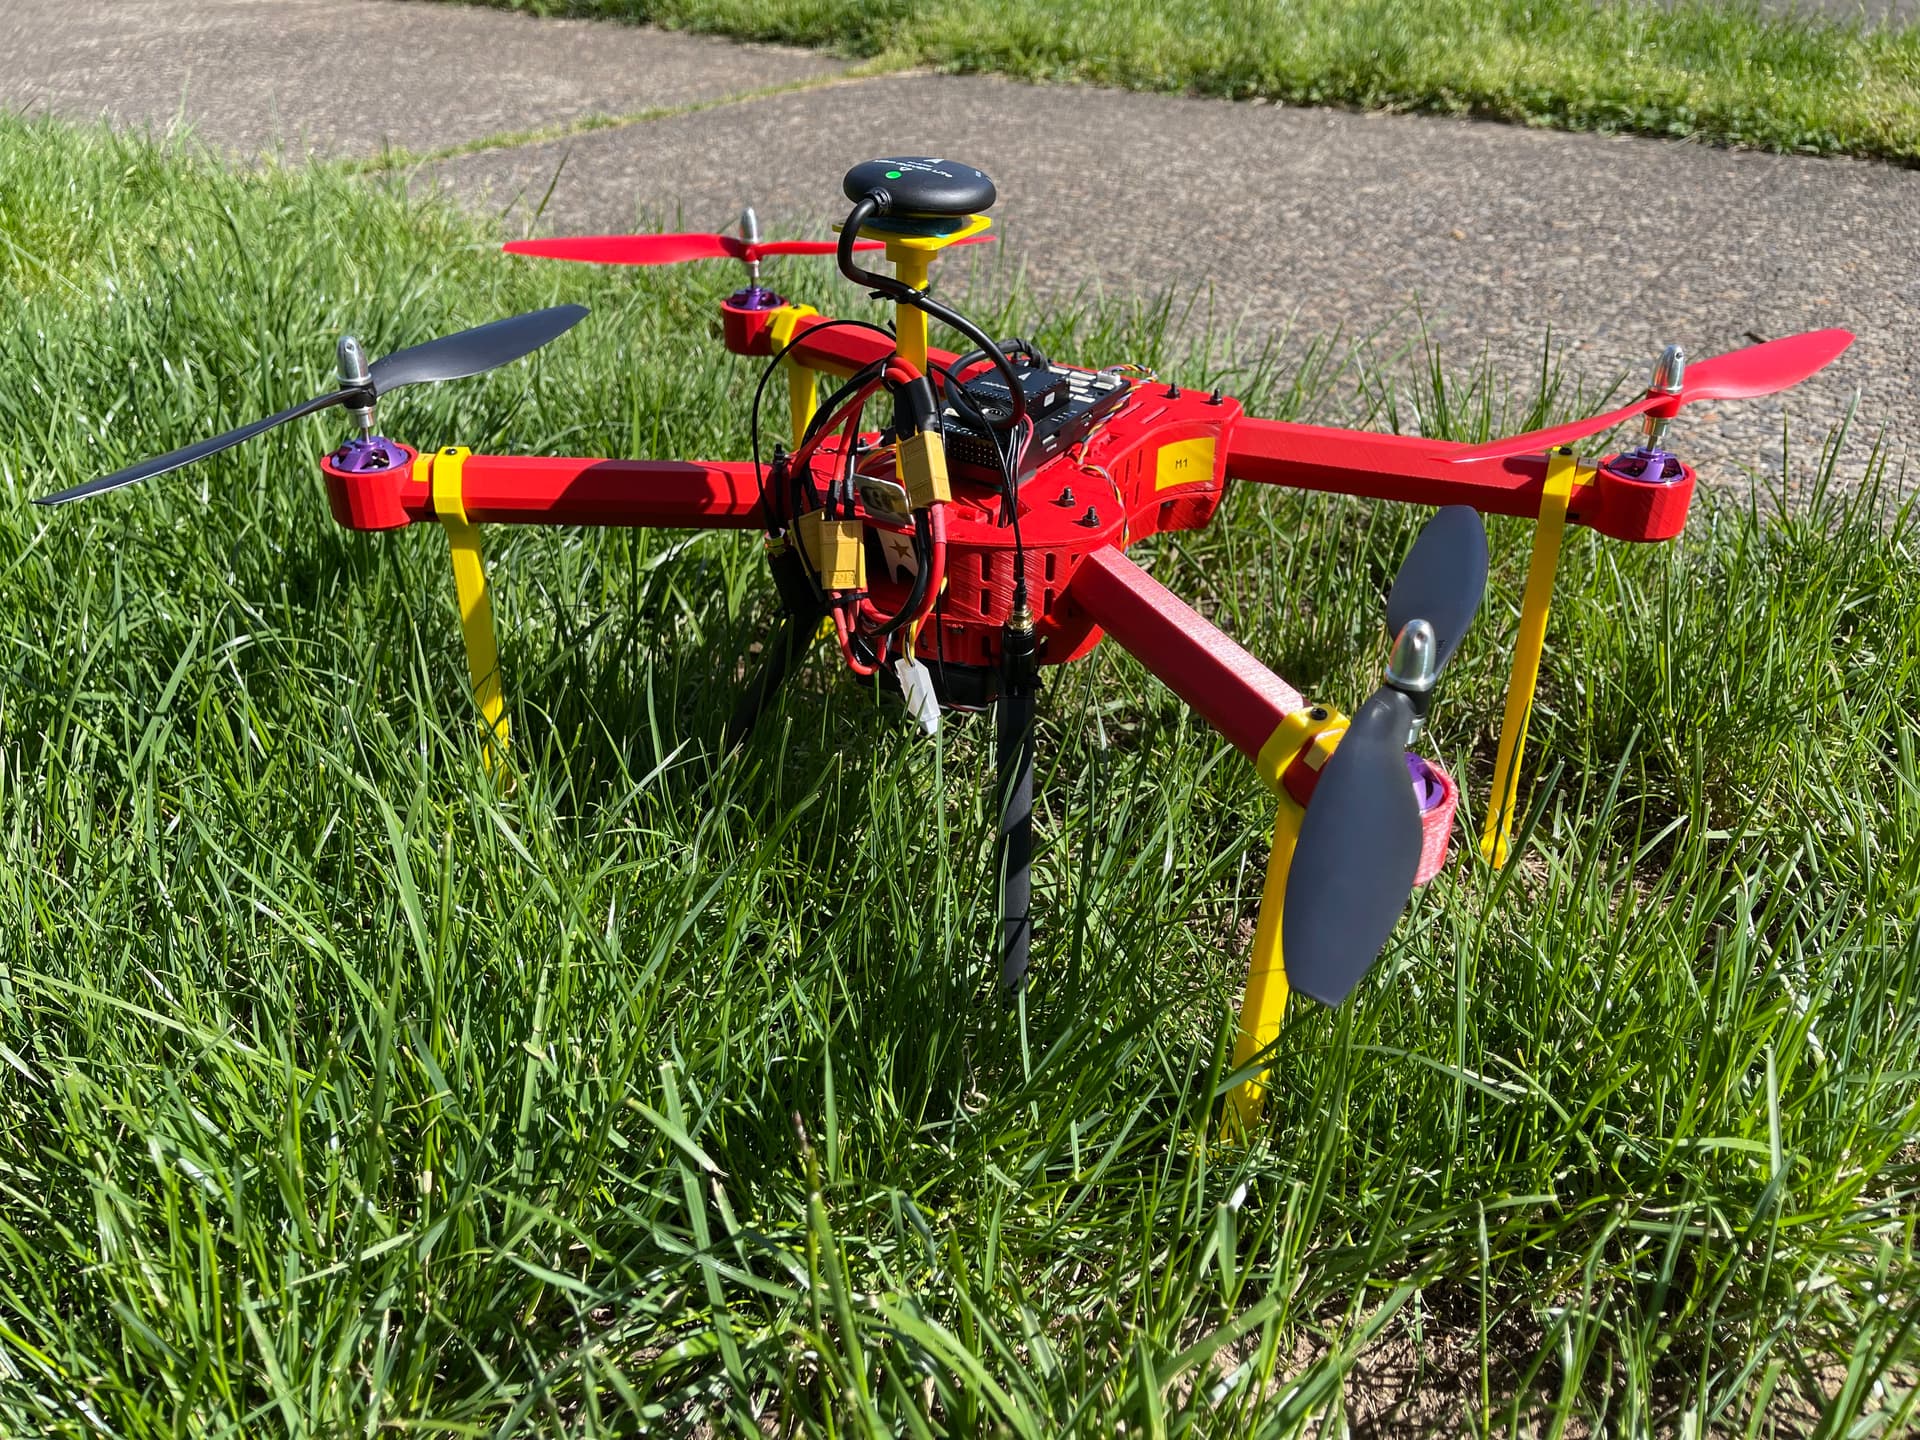
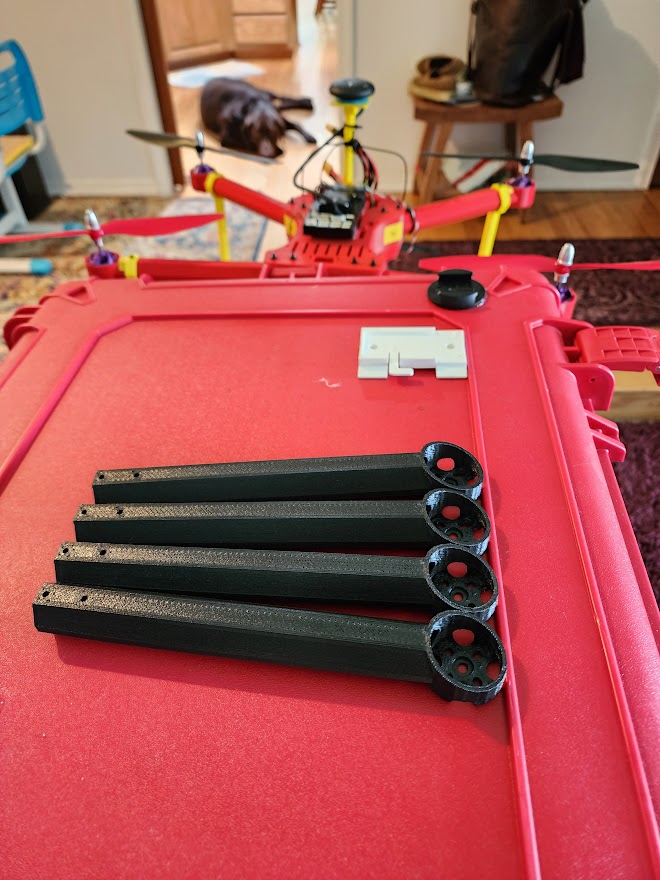
What we changed for flight 4 and 5.
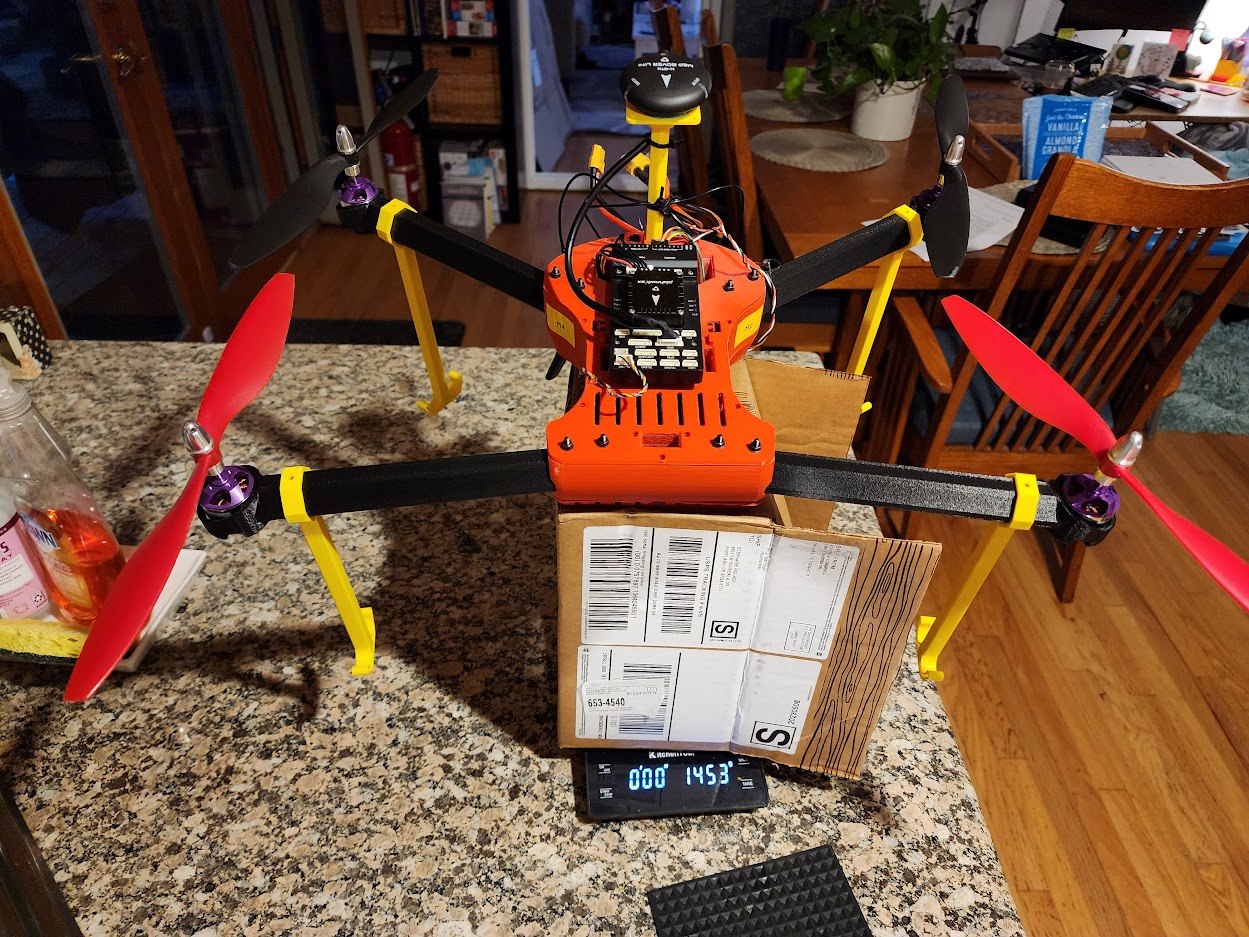
I asked my good friend and neighbor, Matt, if he would reprint the arms for me in polycarbonate carbon fiber. Instead of using the stock arms, I switched to a new design that claimed to fix the vent hole problem and changed the top of the design a bit to allow more air around the motor. The new arm can be found here: Improved ventilation T4 arm by oseiler - Thingiverse They turned out beautifully and I made quick work to get them on the quad. We also changed the stock screws they included for bolts with a washer. We then threadlocked them in.
I’ve done something similar 3 years ago whilst being bored during COVID
However, in my case I quickly returned to my regular designed frame as with the 3D type I was always trying to eliminate or at least reduce vibrations. As a consequence of those vibrations the flight performance was rather poor / unstable.
Also got concerned about the fact that many materials for 3D printing are not UV stabilized.
Speaking of UV stabilized: Lost & destroyed my first octocopter ten years ago thanks to same kind of propellers you seem to be using. - Turns out they were not UV-stabilized either and eventually started to break apart mid-flight.
Since then I only use carbon fibre props or nylon props from a quality manufacturer.
One or 2 coats barely adds weight and will fully seal and UV cure the plastic. Obviously this wouldn’t work for props- but in those cases- a 20 pack of props was 10 dollars. Change em out once a month.