Solution found! I’ll pop the details here in case anyone missed the same thing I did.
I’ve been building this plugin from scratch based off what I’ve gleaned from examining and running the example plugin. I’m also very new to Qt and QML in general, though I have a great deal of C++ and general programming/application design experience.
For the QGroundControl plugin, the “starting point” for inserting your own QML is the CustomOptions class which overrides QGCOptions. This class can be found in CustomPlugin.h/.cc in the example plugin.
CustomOptions defines a series of in-line function overrides - the ones that return the QUrl type are used to place QML into QGroundControl:
class CustomOptions : public QGCOptions
{
public:
    CustomOptions(CustomPlugin*, QObject* parent = nullptr);
    bool        wifiReliableForCalibration      () const final { return true; }
#if defined(Q_OS_LINUX)
    double      toolbarHeightMultiplier         () final { return 1.25; }
#endif
    QUrl        flyViewOverlay                  () const final { return QUrl::fromUserInput("qrc:/custom/CustomFlyView.qml"); }
    QUrl        preFlightChecklistUrl           () const final { return QUrl::fromUserInput("qrc:/custom/PreFlightCheckList.qml"); }
    //-- We have our own toolbar
    QUrl        mainToolbarUrl                  () const final { return QUrl::fromUserInput("qrc:/custom/CustomMainToolBar.qml"); }
    QUrl        planToolbarUrl                  () const final { return QUrl::fromUserInput("qrc:/custom/CustomMainToolBar.qml"); }
    //-- Don't show instrument widget
    CustomInstrumentWidget* instrumentWidget    () final { return nullptr; }
    bool        showMavlinkLogOptions           () const final { return false; }

    bool        showFirmwareUpgrade             () const final;
    //-- We handle multiple vehicles in a custom way
    bool        enableMultiVehicleList          () const final { return false; }
    //-- We handle our own map scale
    bool        enableMapScale                  () const final { return false; }
    // TODO: Can't access QGCPalette without some workarounds, change this upstream
    QColor      toolbarBackgroundLight          () const final;
    QColor      toolbarBackgroundDark           () const final;
};
For example the mainToolbarUrl override allows you to define what QML file to load in place of the default mainToolbarUrl defined by base QGC. Replace the resource path here to point to your new QML. After this, all you need to do is define the CustomOptions constructor (which is empty, it just calls the base constructor):
CustomOptions::CustomOptions(CustomPlugin*, QObject* parent) : QGCOptions(parent)
{
}
Then create an instance of the class in the CustomPlugin constructor (_pOptions here is a member variable, so add that to your CustomPlugin class):
CustomPlugin::CustomPlugin(QGCApplication *app, QGCToolbox* toolbox) : QGCCorePlugin(app, toolbox)
{
    _pOptions = new CustomOptions(this, this);
    _showAdvancedUI = true;
}
Then finally declare and define the options override. In CustomPlugin.h:
QGCOptions* options () final;
And in CustomPlugin.cc:
QGCOptions* CustomPlugin::options()
{
    return _pOptions;
}
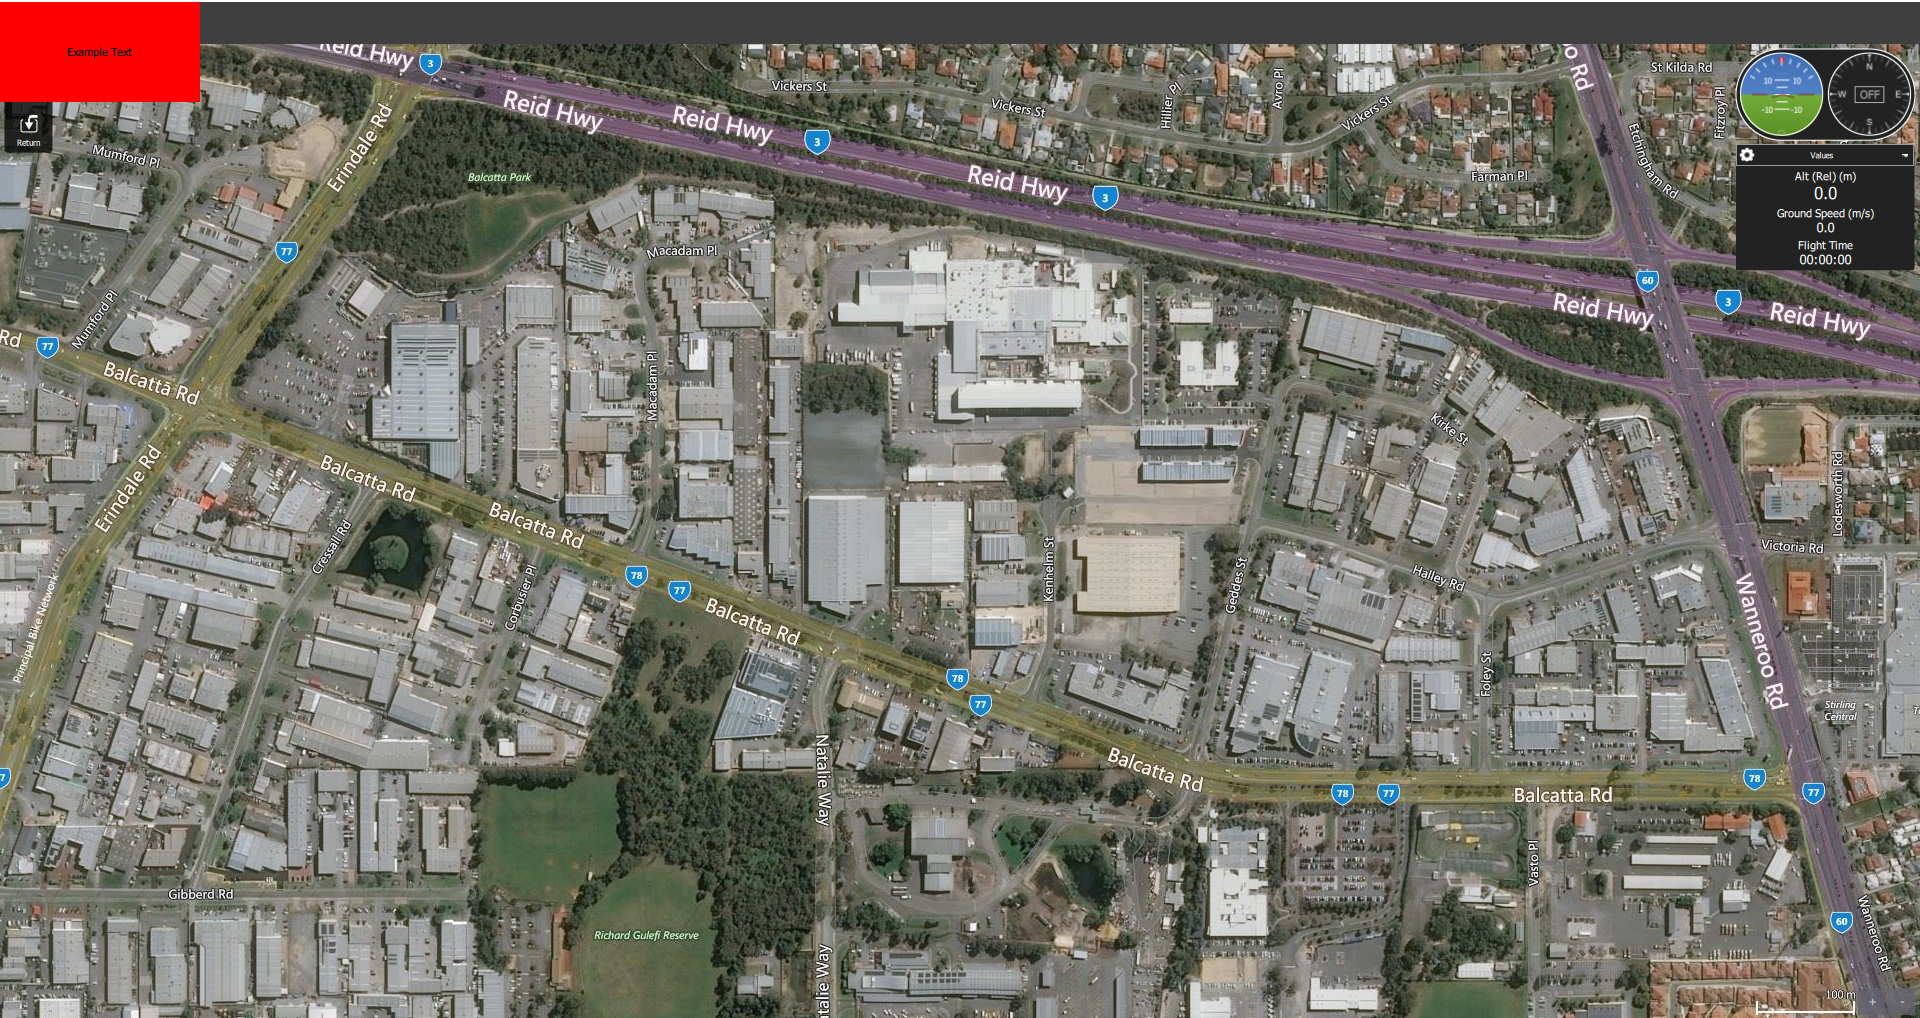
Once you’ve done these base steps, your custom QML toolbar should load into QGC instead of the base toolbar. To show it functioning, the following image is my extremely high-tech example from my previous comment:
Thanks @DonLakeFlyer for your help, it would have taken me much longer to puzzle this out without your comments!