I’m trying to configure the Ethernet interface on my Pixhawk 5X (v1.12.3) to use a static IP address, to communicate with my companion computer. However, the lack of available documentation is hampering my efforts, and was wondering if there’s a guide / tutorial on how to configure this.
Playing around, I’m able to ping between the two by configuring the following:
Setting MAV_1_CONFIG to Ethernet and exposing the following two parameters.
Leaving MAV_1_REMOTE_PRT and MAV_1_UDP_PRT as its default value of 0
Setting my companion computer to use a 192.168.0.X address
(The Pixhawk defaults to a 192.168.0.X address by default)
However, there are still problems:
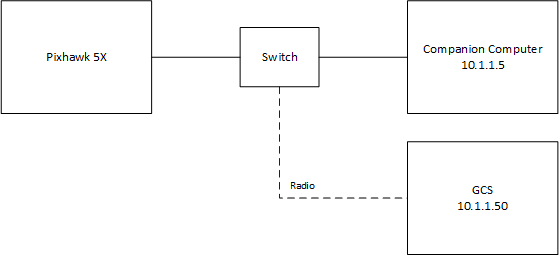
This requires changing the companion computer from its original address of 10.1.1.X, which breaks compatibility with the rest of the system. This is the topology I’m aiming for:
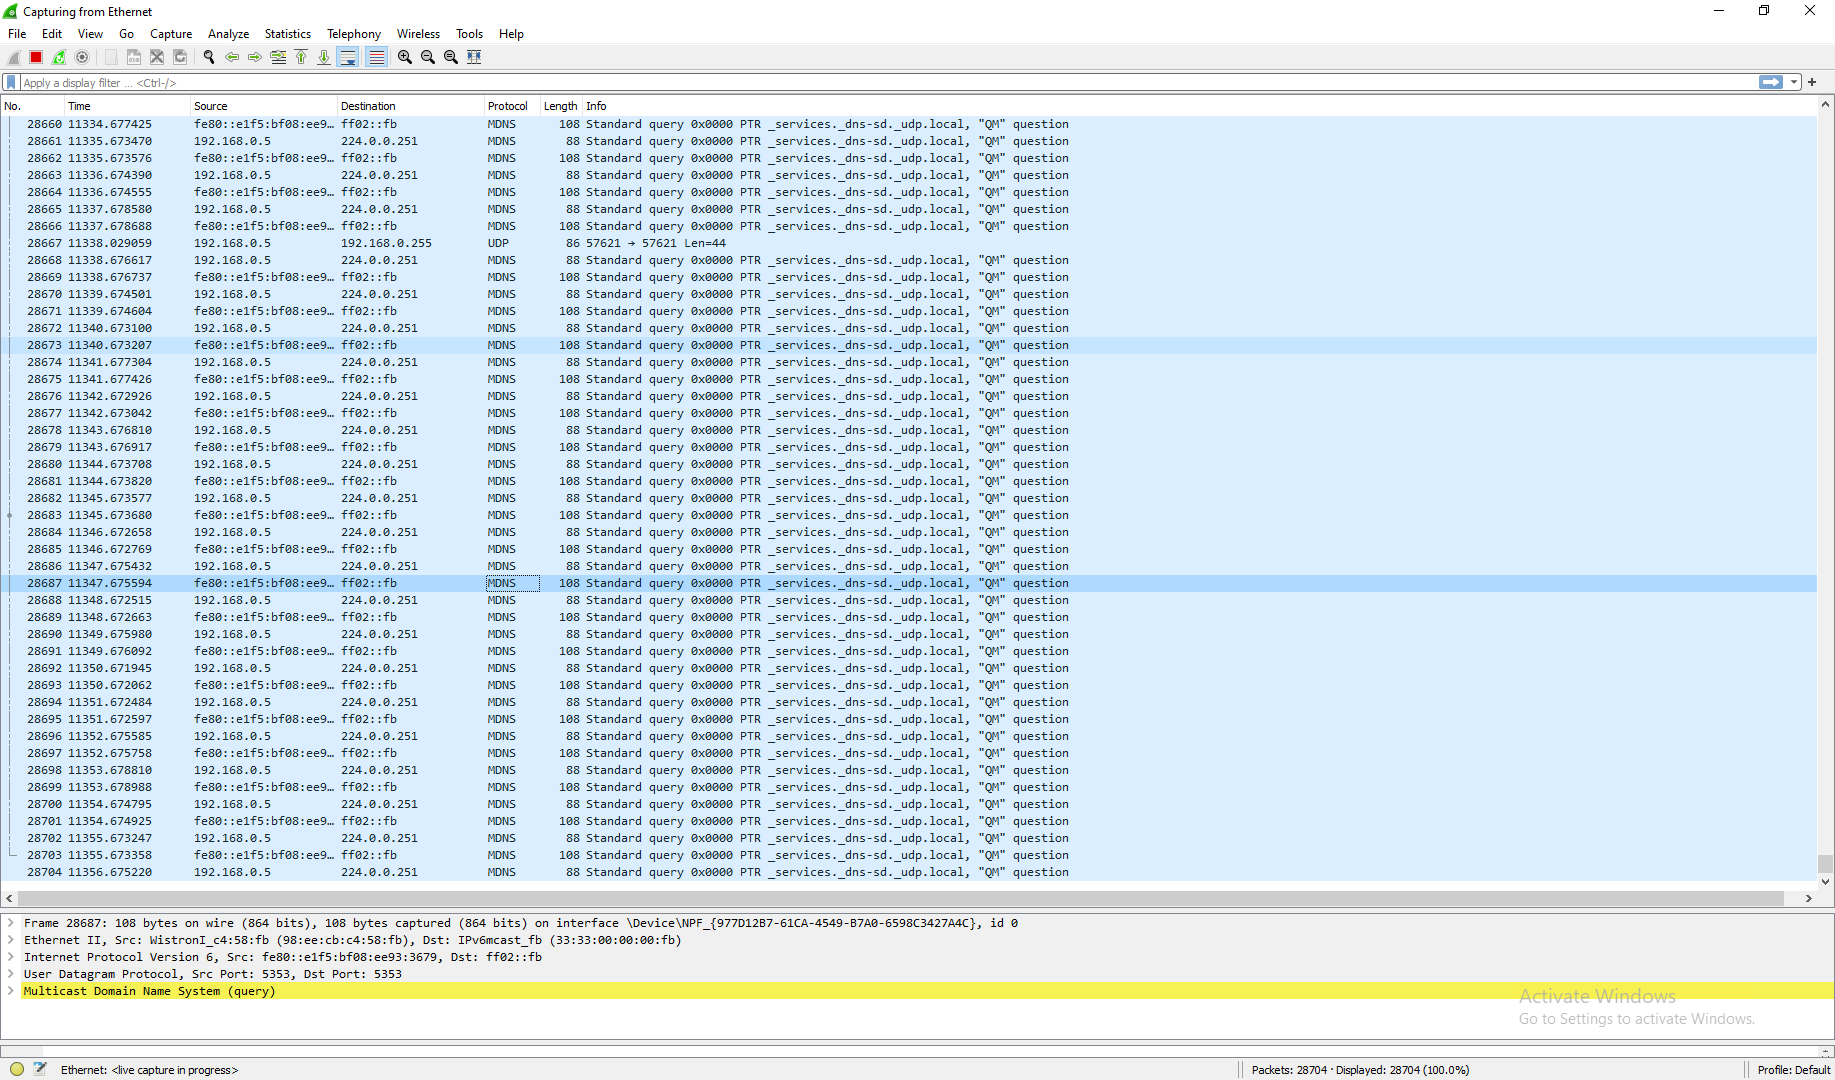
No MAVLink data is emitted from the Pixhawk despite the successful ping. The only thing coming over to and from the interface are DNS queries
Hello,
If not too late you can do that by putting a net.cfg file on the SD card root folder.
Here is an example for my configuration (the content of the net.cfg file)
network:
  version: 2
  renderer: NetworkManager
  ethernets:
      eth0:
          addresses:
              - 192.168.0.2/24 #[This is the chosen Static-IP]
          nameservers:
              addresses: [192.168.0.2]
          routes:
              - to: 192.168.0.2
                via: 192.168.0.2
          optional: true
Use command sudo netmann apply
Parameters Configuration
Set parameters as follows:
ParameterValue Description RTPS_CONFIG401 Pixhawk Payload Bus MAV_0_CONFIG0 Disable Serial Configuration for MAVLink (instance 0) MAV_1_CONFIG0 Disable Serial Configuration for MAVLink (instance 1) MAV_2_CONFIG1000 Configure Ethernet port MAV_2_BROADCAST1 Broadcast HEARTBEAT messages MAV_2_MODE2 Send the “normal” set of MAVLink messages (i.e. the GCS set) MAV_2_RADIO_CTL0 Disable software throttling of MAVLink traffic MAV_2_RATE100000 Maximum sending rate MAV_2_REMOTE_PRT14540 MAVLink Remote Port of 14550 (GCS) MAV_2_UDP_PRT14540 MAVLink Network Port of 14550 (GCS)
Running
Open MAVLink Console on QGroundControl and use command micrortps_client start -t UDP -i 192.168.0.2 [IP Adress from RPi 4]
or use mavlink_shell.py and use the same command.
Access the RPi 4 through SSH and type command micrortps_agent start -t UDP
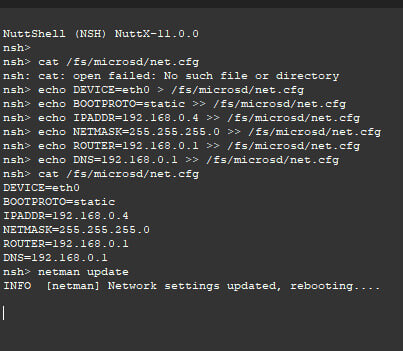
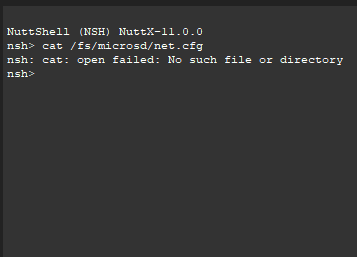
I’m using the QGC console to write the net.cfg file and configure it and test it with “cat /fs/microsd/net.cfg” and it’s good but when I reboot it’s not saved. I tried to make a text file and do the same steps in the user guide but after starting pixhawk 6x it will delete the file.
any Idea what’s happening?